 There are various techniques for associating a geographical location with a photograph. Nikon D200 has a 10 pin connector which can be connected to a compatible (explained below) GPS unit using a proprietory cable called Nikon MC-35 GPS Cord. The biggest problem with this connector is the price and the availibility. It is more than 3 weeks now I have asked my favourite dealer to procur this (Fototrade at Wallajah Road).
Why can't we connect a GPS receiver directly to the camera? Why is the above MC-35 cable needed?
Well the D200 requires TTL level signals for communication. TTL serial refers to serial communication using signals that range between 0 and 5 volts. Plenty of Chips, circuits nowdays output TTL and no voltage conversion circuitry is necessary. TTL serial only operates over short distances. RS-232 signals are signals that range between -10 and +10 volts, and therefore require voltage conversion circuitry. A chip like the Maxim MAX232 can be used to achieve this. You can see what is involved in making this here
So it should be simple connecting a GPS to D200? Isn't It?
When you start attempting this you will realize that for a successful connection to GPS the following is required (apart from having a camera and an Idiot who will press the camera shutter button)
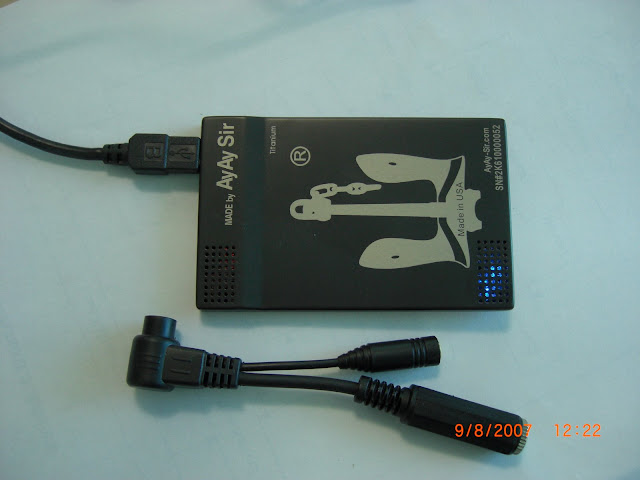
- A GPS receiver which has a RS232 (serial) or TTL output. The GPS output should be in NMEA 0183 standard at 4800 baudrate speed. NMEA is a standard which has been defined by, and is controlled by, the US based National Marine Electronics Association. You can read more of this at Wikipedia. If your receiver does not support NMEA 0183, you cannot use it with D200. After lot of research (Garmin, Magellan, etc), I came across AyAY Ti-GPS. This unit uses SIRF Star III chip and has two mini usb ports. The first mini-usb can be connected to a USB port on any computer and can function as a normal GPS receiver with your computer. The receiver also takes power through this port. The second mini-USB port gives both TTL and RS232 output. This gives you the ability to connect the GPS receiver directly to D200 as well as through MC-35 GPS cable. As is my habit, I started playing with the GPS receiver using Sirfdemo. Made the chip inoperable by setting it into what is known as USER1 mode. I found that I am not the only one who has managed to do this. With the help of AyAy Engineers at their forum, I was able to make the receiver operational. The other advantage of this Ti-GPS receiver is that it runs on 5v which is standard USB power. Hence this unit can be connected to any externalUSB power supply. I connected this to JboxMini - Macally external Power Supply for Ipod
- TTL output so that the output can be fed directly to the camera. If your receiver outputs RS232 you will require a converter.
- Suitable cables/connectors which can connect to the GPS receiver at one end and the 10 pin nikon connector at the other end. Getting a 10 pin connector proved to be the most difficult part as the connector is a proprietory connector. Google proved to be a big help and I stumbled upon GND2 connector for $44.95 + $5 shipping at PCMobile.net. This cable is not needed if you have a GPS like the AyAy Ti-GPS which outputs TTL. However I ordered the cable just for the Nikon 10 pin connector. The GPS receiver along with the cables can prove a bit challenging in carrying it along with the camera and holding it. There are two solutions; fix it on the strap or fix it on the flash hot-shoe. I prefer it on the strap as I would sometimes use the flash. There are other solutions like have a bluetooth receiver and connecting a bluetooth-serial adaptor to the camera. This innovative solution uses the free2move adaptore. You can read this here.
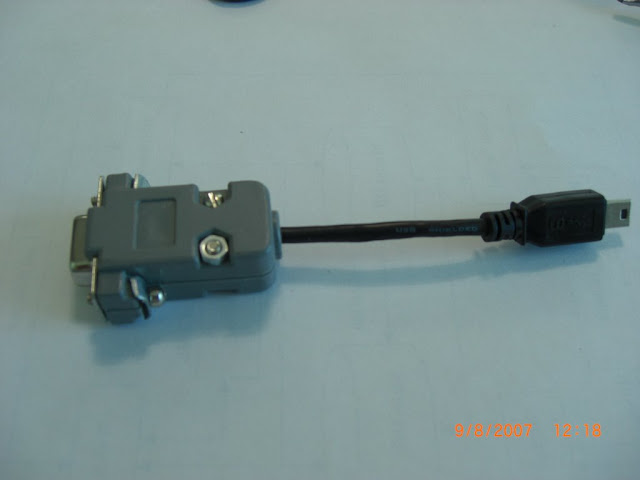
Fig 1 RS232 -> TTL Converter Cable
 This is my assembled RS232-TTL Converter and is equivalent to Nikon's MC-35 Connector. It has a DB9 male at one end and a 2.5mm stereo socket at the other. A stereo socket/jack has three terminals. Remember that a converter like this draws power from the camera battery. In Nikon D200 which does not have a good battery life, I would rather use the TTL output from the GPS receiver and connect it directly to the camera.
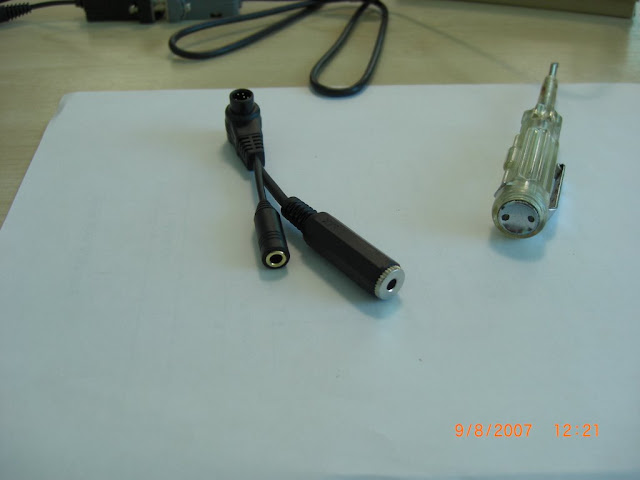
Fig 2 Assembled RS232 Cable for AyAy Ti-GPS
 Ti-GPS uses a Standard Mini USB connector for supplying both TTL output and RS232 output.
The Green (Tx) & White (Rx) wires of the USB cable supply RS232 output. The shield and Black wire was soldered to pin 5 (Ground), green wire to pin2 and white to pin 3 of DB9 connector. This cable can be connected to the 2nd mini-USB socket of AyAy Ti-GPS to get RS232 output. The female DB9 connector can be connected to the RS232-TTL converter above in Fig1 or a MC-35 GPS cord.
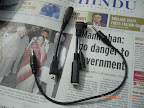
Fig 3 Assembled TTL Cable for AyAy Ti-GPS

Here the Red & Black wires of the USB cable outputs TTL. These two wires were soldered to a 3.5mm stereo socket. Using a male to male stereo cable, you can connect this to the Nikon 10 pin connector cable in Fig 4. The mini-USB connector goes to AyAy Ti-GPS. This is my preferred method as it eliminiates the RS232-TTL converter and hence saves on the D200's battery power.
Fig 4 Assembled Nikon 10 pin connector
 This connector requires TTL output on a 3.5mm stereo jack. It also supplies 5v regulated power supply on one terminal of the stereo socket. The power supply is needed in case you are going to connect a RS232->TTL converter as in Fig 1.
I use TTL cable in Fig 3 above and it eliminates the cable in Fig 1 and Fig 2 and makes the setup simpler.
Fig 5 Joining all cables

Finally with a stereo cable (male at both ends) you are done. Now you need to connect this to the camera. Switch off the camera while doing this just as a precaution.
Fig 6 5v Power Suply

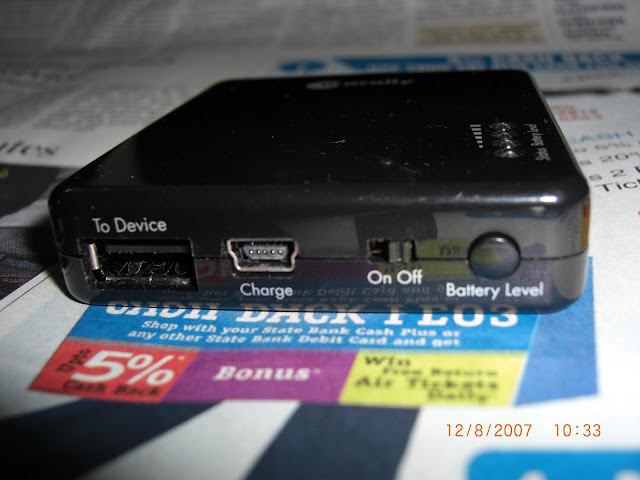
You can use any power supply which supplies 5v to the Ti-GPS. I chose JboxMini as shown above. JboxMini is quite popularly used for powering ipod. So this also powers my ipod on long trips.
Fig 7 Connecting the GPS receiver to Camera


You can see the GPS receiver connected to the camera. The 5v power supply from Macally supplies power to the GPS receiver (through the white mini USB cable). Using 3M Dual Lock I am able to attach the 5v power supply securely to the GPS receiver. In addition to this, I used velcro to neatly and securely fix all the components to the camera strap.
Fig 8. Attaching GPS receiver to Camera Strap.
 Using velcro, I am able to attach and detach the GPS receiver to the camera strap. There are ways you can attach the receiver to the camera hot shoe also. But I prefer this method as I would want to use my flash sometimes.
Fig 9 Getting GPS symbol on the camera's LCD screen.
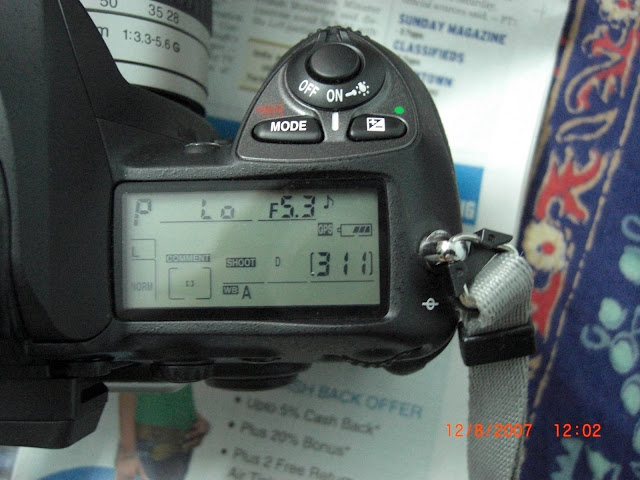 If all goes well, you should see this GPS symbol on the screen. A flashing GPS symbol means that the GPS receiver has not yet got a lock with the satellites to get a fix on the postion. Once the GPS receiver is able to tell the position, the GPS symbol stops flashing.
You can take pictures regardless of the status of the GPS symbol. If the GPS symbol is steady, your photos exif information will contain the GPS latitude, GPS longitude, GPS height and compass information.
If you are also thinking for Geotagging, you can ask me for any assistance which I will be glad to provide.
 This is a temple inside my Residential Complex. I uploaded it to flickr, but flickr was not initially showing the photos on the map. A call for help on Flickr Central told me that my Flickr settings were
  not set to automatically import geotags from the photo. You can see the same photo at flickr . Uploading to picasaweb through a beautiful program Picasa also puts the images on map. The new GPS information that I see in the exif is below
| Latitude: | N 12° 58.41' 0" |
| Longitude: | E 80° 13.38' 0" |
| Altitude: | 5 |
| GPS Time (atomic clock): | 12/1, 54/1, 1500/100 |
| GPS Satellites used for Measurement: | 06 |
| GPS Date: | 2007:08:12 |
You can look through the photos and instructions here.
Wireless ?
It would be fun if all these cables could be eliminated. My next project will be on connecting the GPS receiver wirelessly to the camera. Any help on doing this at a low cost will be appreciated. I have an idea of connecting this using two serial to bluetooth convertors from Digitech Engineers. They seem to have solutions for device networking. I have written to them on how to obtain Promi - SD 100 / 200 / Bluetooth Serial Adapter. They also have OEM Embedded Serial-Bluetooth Module which looks interesting. These devices are from Sena who seem to be doing pioneering work on connecting devices wirelessly. I think with a bit of work on their Bluetooth Wireless device, one should be able to replace Nikon's (>$600) WT-2A transmitter at a fraction of the cost. But that will be another project at another time.
Update on Wednesday, Aug 29 2007
The bluetooth devices arrived on day before yesterday (Aug 27). That was when I was in the office. Yesterday was a busy day for me and I couldn't put my hands on it.
Fig 10 Parani SD100 Bluetooth Module
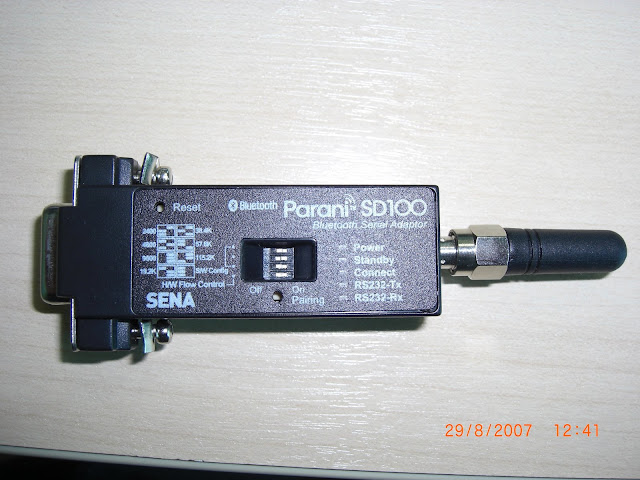 The parani SD100 module has dip switches for various settings. By using these switches, the module can be set up without using a computer. This is a cool device to help you connect two RS232 devices together. The device can be powered through pin 9 on the DB9 socket or a power socket.
I did a minor surgery on the Macally power supply to power one module along with the GPS receiver.
Fig 11 GPS receiver connected to Parani SD100
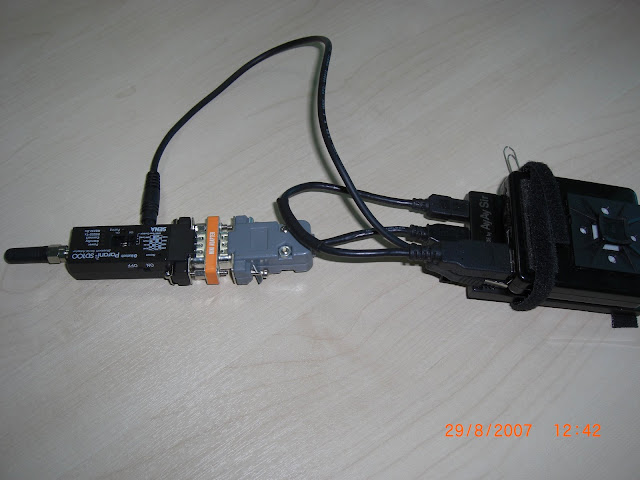 Connecting the GPS receiver to the camera was a trivial affair. Involved setting up the bluetooth device to 4800 baud using dip switches and pairing them together by pressing the pairing button. On the camera side, I was confused for a day on how to power the SD100 module. Choice was either through the camera's power supply or another 5v supply (Macally or something else). Since the SD100 module can run on power with voltage from 5v to 12v, I dug up an old battery pack (accomodates 4 AA batteries) and wired a USB female socket as in Fig 12.
Fig 12 Power Pack (4AA battery)

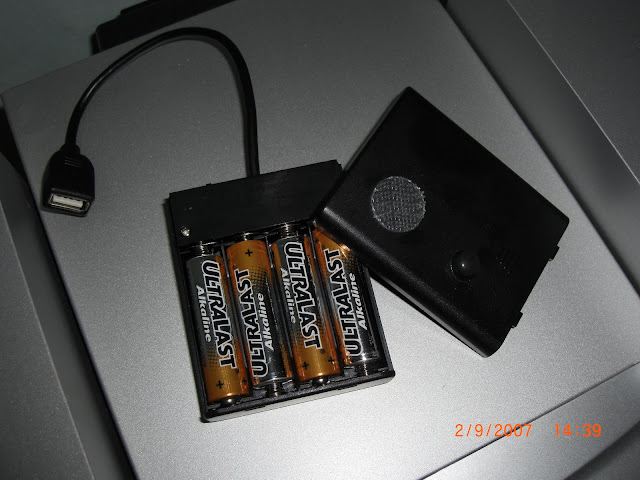
Fig 13 Final Configuration on the D200 camera (Wireless)

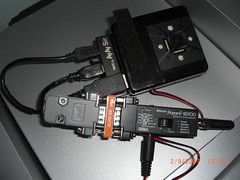
Now my Nikon D200 is proudly and wirelessly connected to the GPS receiver.
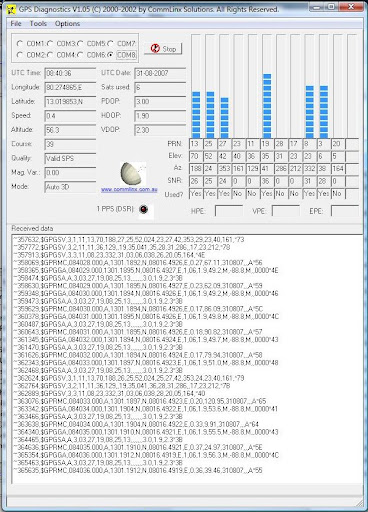
While doing all this, I came across a useful tool for diagnosizing GPS output.
Fig 14 GPS Diag showing 6 locked satellites
Cost ($196.18 / INR Rs 8043)
- GPS Receiver - $110
- Li-Ion Battery - $31.18
- Nikon 10 pin connector - $50
- Misc (Stereo connectors, cable, etc) - $5
- Blue2CAN
- D1X GPS
- Sony GPS-CS1
- N2 di GPS mini
- AyAy Sir
- GPS Connection Solutions for Nikon DSLR D2X, D2Xs, D2Hs, D200
- NiCOMM HarTALK
- GPS device w/ SiRFstar III for Nikon D2 series DSLR's Custom Idea
References
- Tagging photos with a GPS
- Nikon GPS - Peter Miller
- GPS Photography adds location to digital photos
- GPS for professional Nikon cameras
- Tagging Photos with GPS Metadata
- How to make a Nikon D200 GPS Mount & Cable
- Micro GPS for Nikon D2X D2HS D200 Project
- The importance of Place - GPS and Photography
- Nikon D200 GPS
- How to make a GPS device for a Nikon D200
- DIY Photo Gear by Stockholmview.com